Beginners’ Guide to Composting
For Families
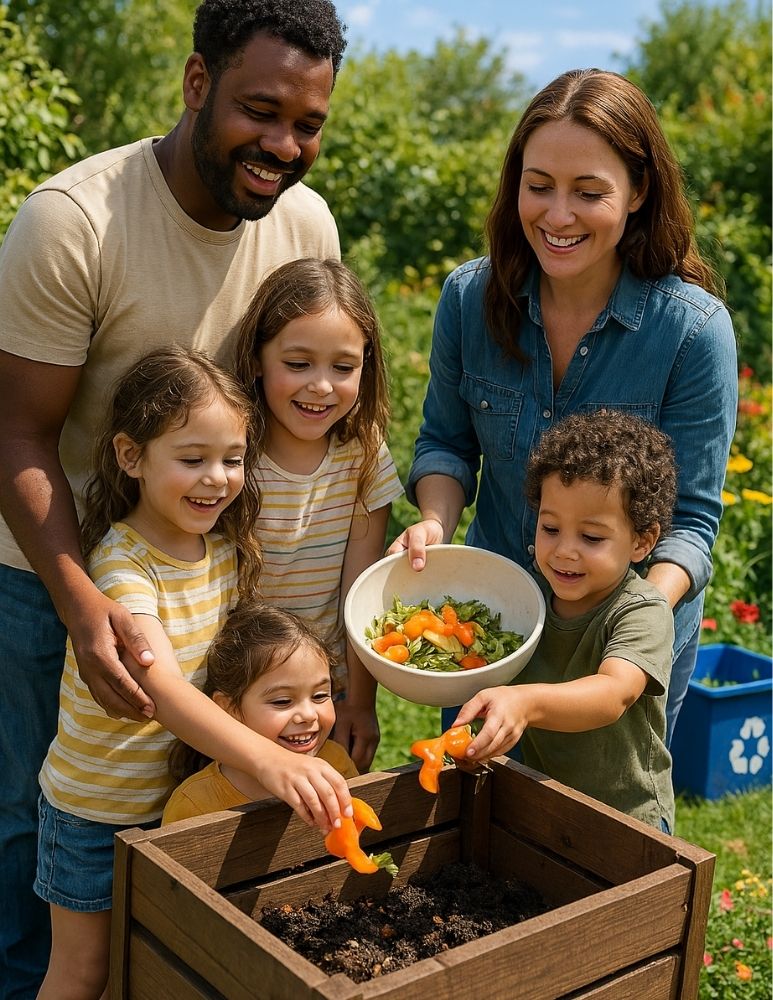
Welcome to the Composting Adventure
Discover how everyday kitchen scraps can transform into “magic soil” to make gardens flourish. Composting is a simple, natural process that teaches children about recycling, waste reduction, and caring for our Earth.
2. What Is Composting?
Composting is nature’s recycling system!
Imagine if leftover food and plant scraps turned into a powerful booster for plants. Composting is the natural process that breaks down organic waste into nutrient-rich soil.
This process shows children that nothing goes to waste—everything can be transformed into something valuable!
Key Points:
Organic Matter: Kitchen scraps, fruit scraps and plant trimmings
Decomposition: Nature’s way of breaking down with the help of worms, bacteria, and fungi
Nutrient-Rich Soil: The “magic soil” that fuels plant growth
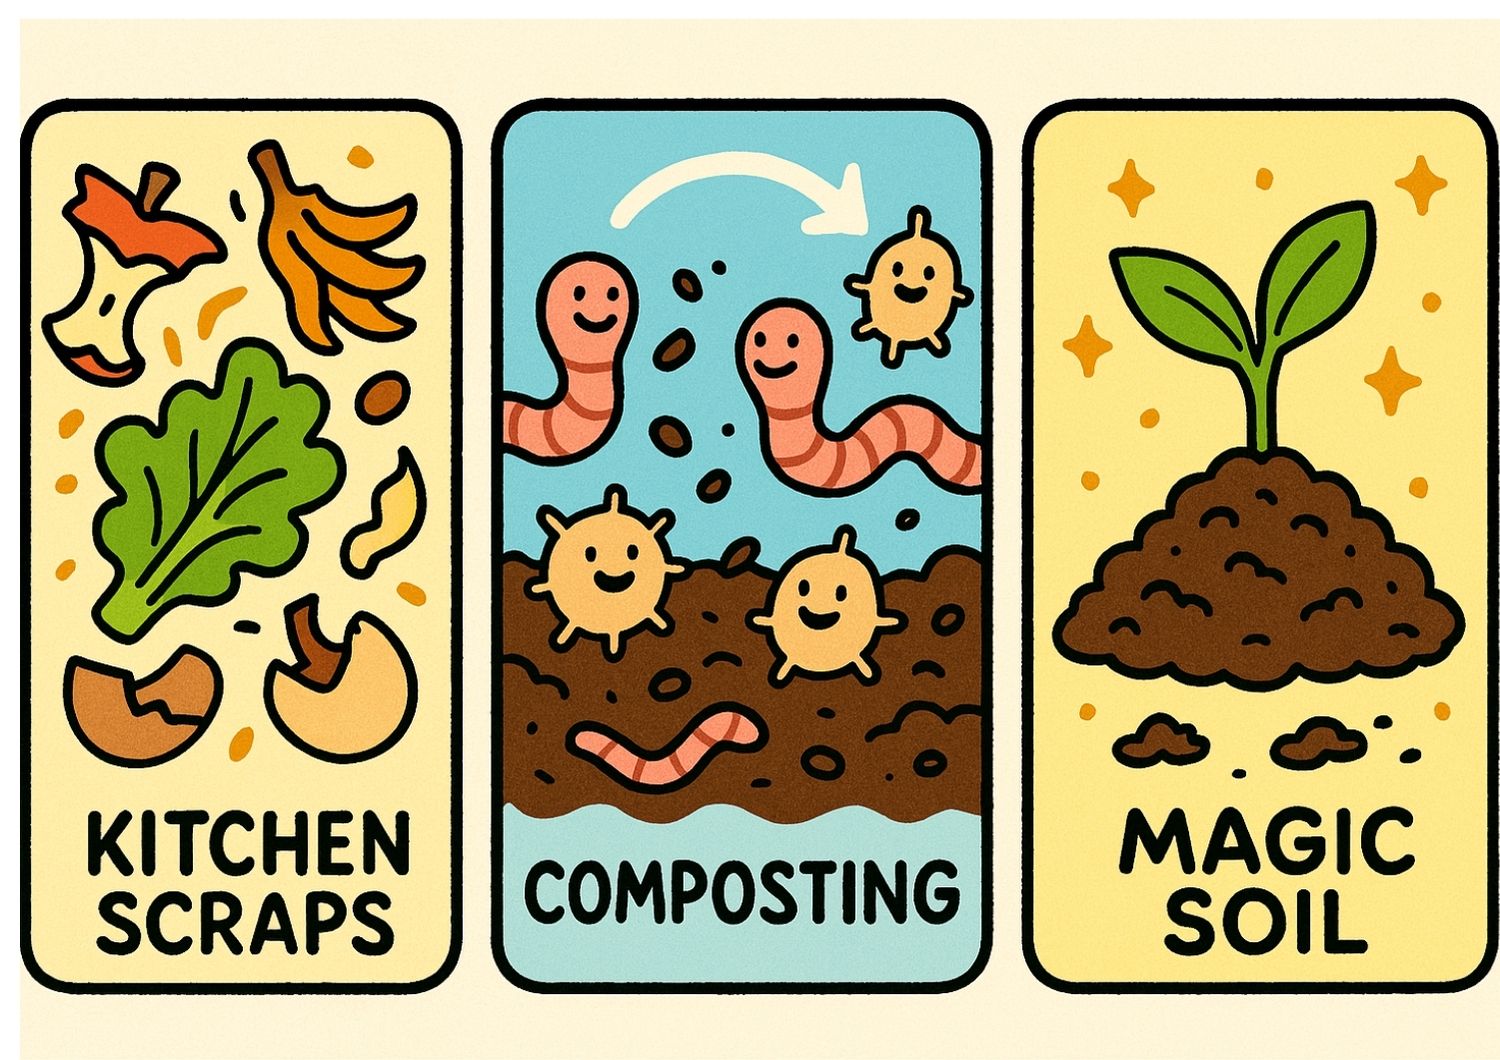
3. How Kitchen Scraps Turn Into Magic Soil
Let’s explore a fun analogy: “How Kitchen Scraps Turn Into Magic Soil.”
Picture your kitchen scraps as ingredients in a special potion.
When mixed with nature’s helpers, these ingredients slowly transform into compost—the magic soil that nourishes plants.
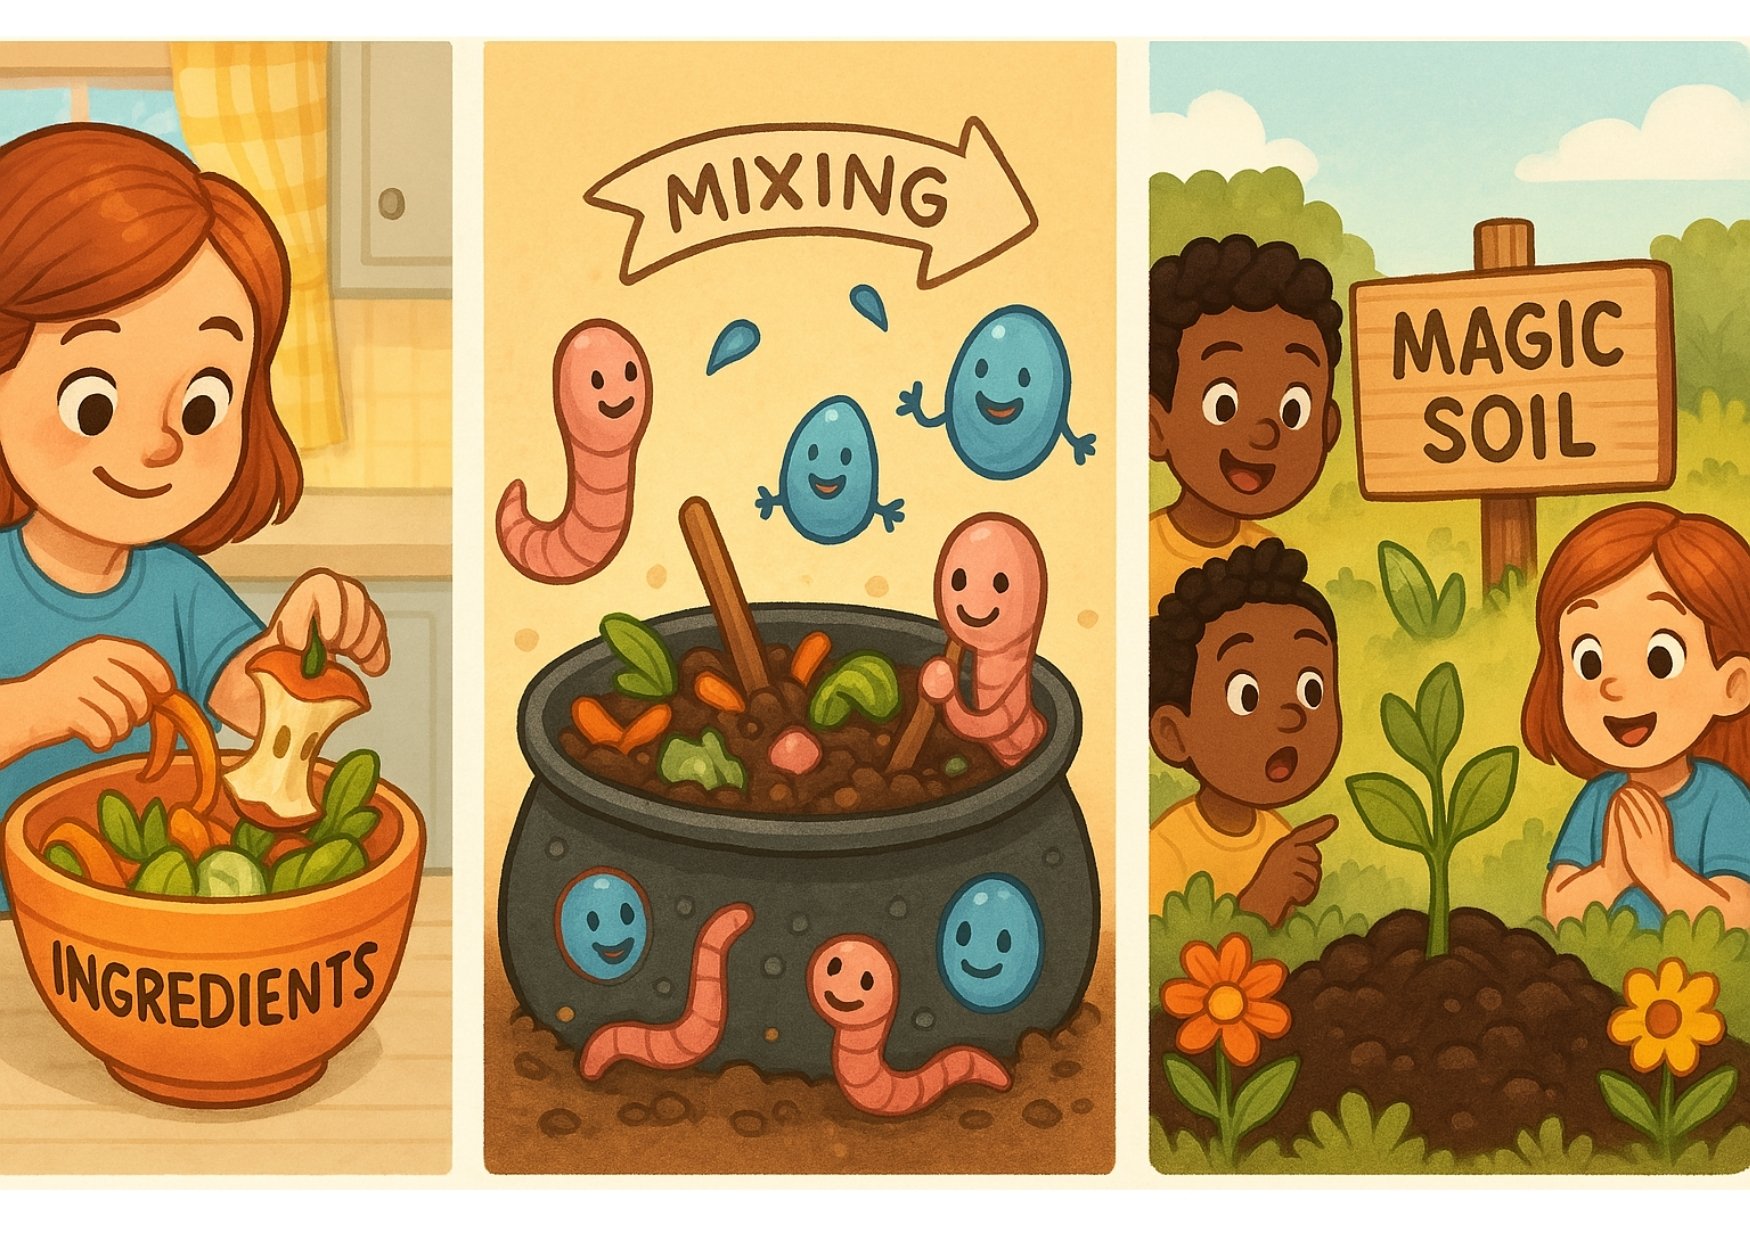
Fun Analogy for Kids:
Step 1: Gather the Ingredients
Collect your apple cores, carrot peels, and lettuce leaves (just like gathering ingredients for a yummy smoothie).
Step 2: Mix in Nature’s Helpers
Imagine friendly bugs, worms, and microorganisms coming together to blend everything.
Step 3: The Transformation
Over time, these ingredients become dark, crumbly magic soil that helps your garden grow strong!
4. Building a Simple Compost Bin with Recycled Materials
Time for a hands-on project!
Build your own compost bin with items you might already have at home.
Materials You’ll Need:
A Sturdy Container: An old plastic storage container or a wooden box
Tools: A drill (or nail and hammer) for ventilation holes
Recycled Materials: Newspaper, cardboard, and scrap wood for decoration (optional)
Additional Items: Small twigs or straw for the base layer
Step-by-Step Instructions
Choose Your Container:
Select a container with a lid that is large enough for your scraps.
Create Air Holes:
Use a drill or a nail to punch several ventilation holes on the sides and bottom.
Layer Your Materials:
Bottom Layer: Place small twigs or straw to help with drainage.
Next Layer: Add crumpled newspaper or cardboard to create gaps for air.
Organic Matter: Layer in your kitchen scraps.
Maintenance:
Stir the pile every few days and lightly water if it seems dry.
Hands-On Project Tip for Kids:
Let them help decorate the container using recycled paper cut-outs and non-toxic markers.

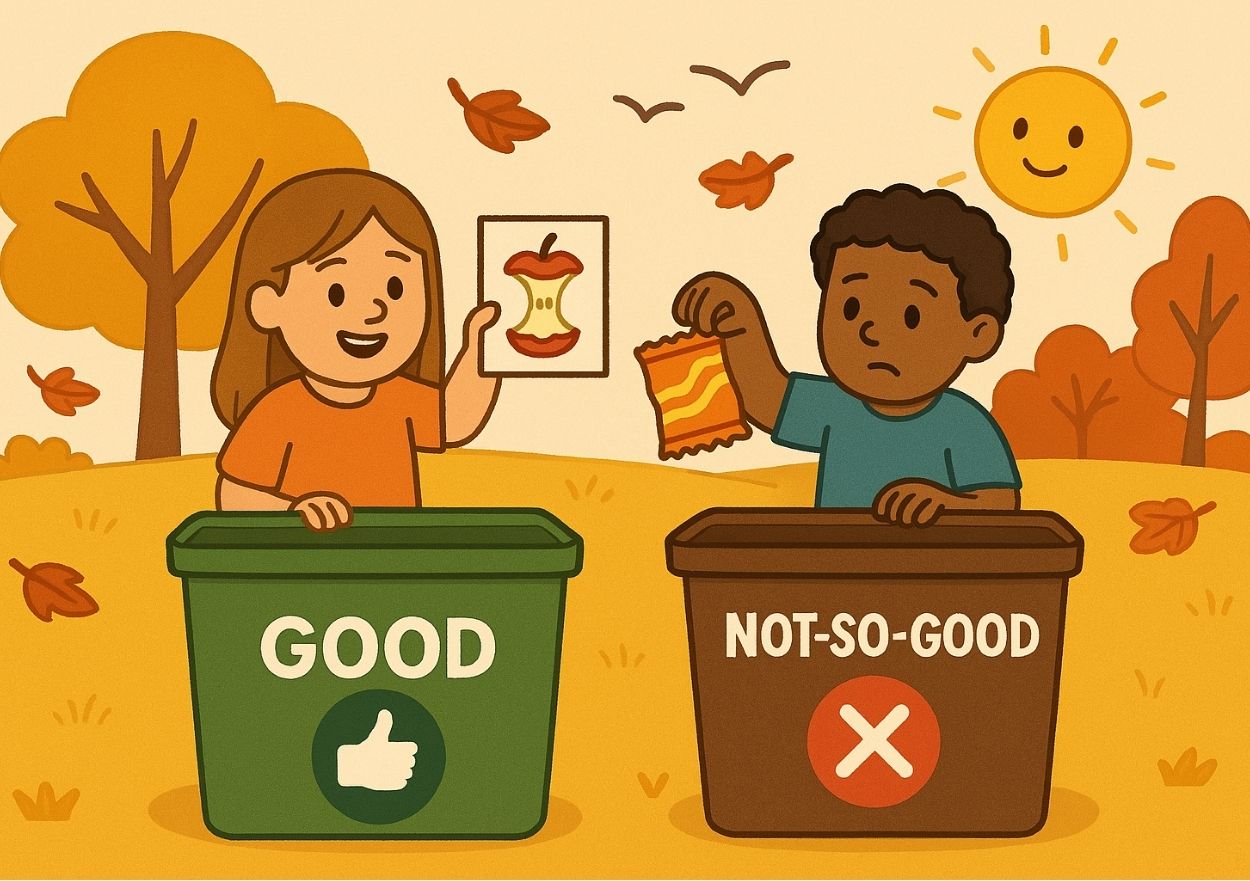
5. Sorting Organics: The “Good” vs. “Bad” Waste Activity
Learn to sort which materials are best for composting with our fun activity!
Instructions for the Activity:
Materials Needed:
Pictures or actual items of food scraps. Use both or either.
Two labeled bins or boxes: one for “Good” Organics (compostable items) and one for “Not-So-Good” Items (non-compostable).
How to Play:
Show each item and ask, “Should this go into our compost bin—Yes or No?”
Explain why items such as vegetable peels and fruit cores are compostable, whereas items like plastic or meat are not.
Example Items:
Good: Apple cores, banana peels, egg shells, vegetable trimmings, potato peels
Not-So-Good: Plastic wrappers, metal cans, glass bottles, metal objects
6. Tracking Our Compost: Interactive Worksheets
Make the compost process a learning adventure with an interactive worksheet!
The Worksheet:
Compost "Daily Observations" Worksheet:
A fun sheet where children note the date, color, texture, and any changes in the compost. A place where kids can record daily observations (e.g., “What does it look like today?” and “What did you add today?"
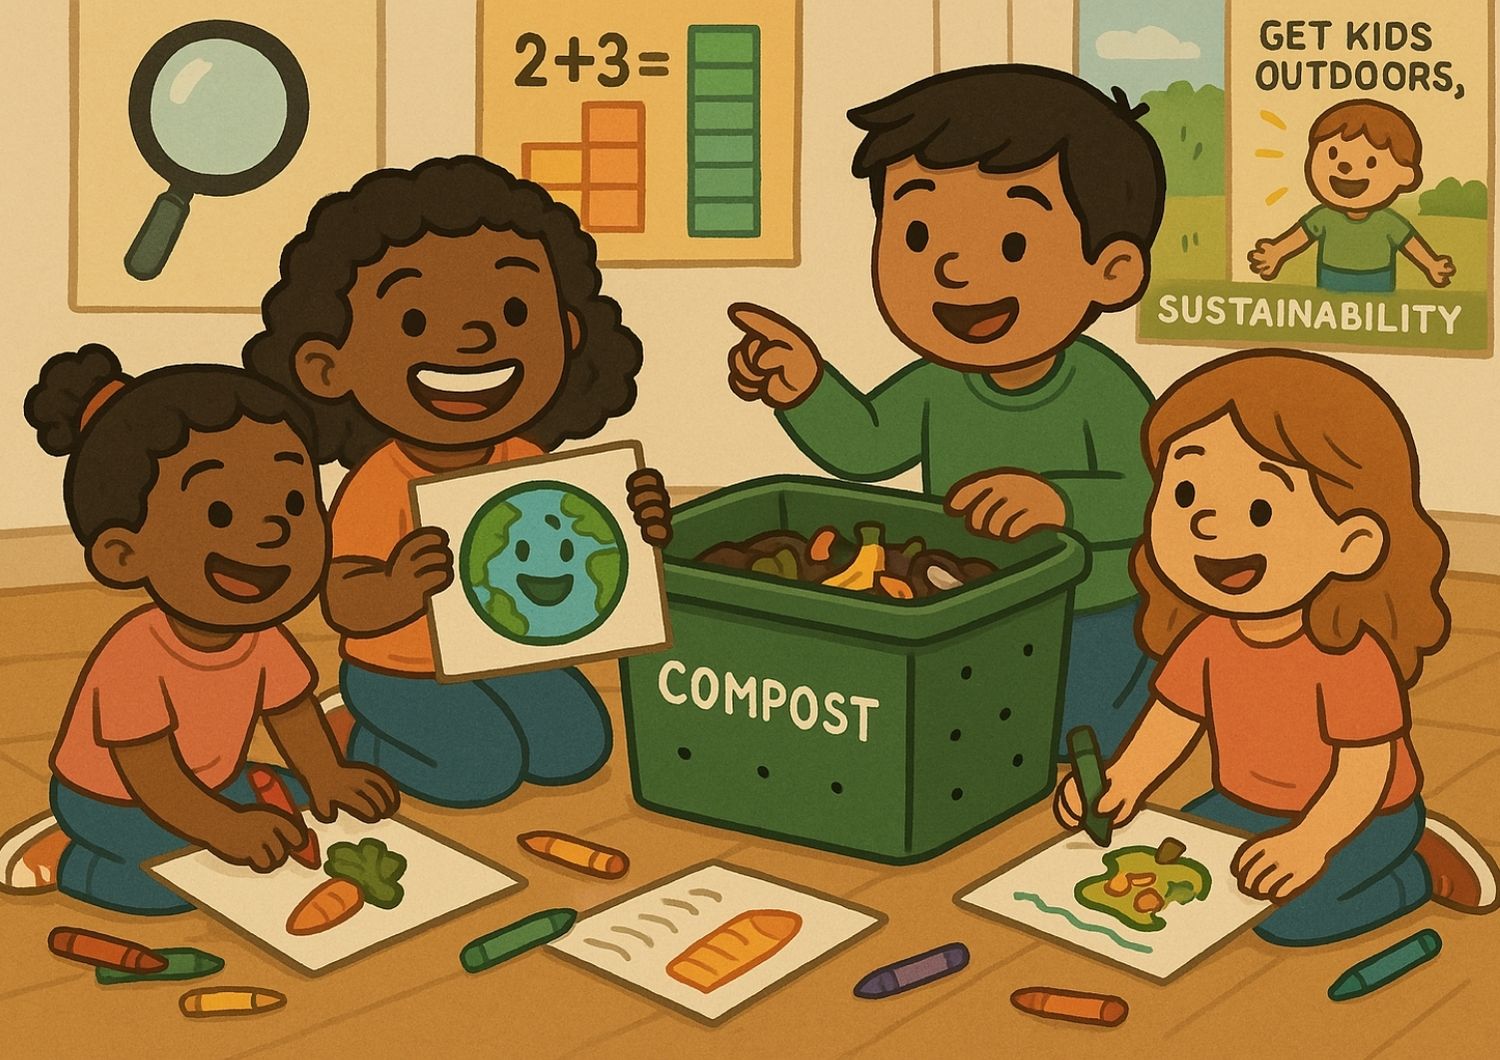
7. Educational Benefits & Classroom Discussions
Integrating composting projects with interactive activities teaches valuable lessons:
Practical Learning:
• Hands-On Experience:
Children actively participate in the composting process.
• Waste Reduction:
They witness how kitchen scraps turn into soil, reducing waste.
Interdisciplinary Connections:
• Science:
Learn about decomposition, biology, and natural cycles.
• Math:
Track changes and measure progress.
• Art:
Express creativity through drawings and craft projects.
Environmental Responsibility:
• Stewardship:
Early exposure nurtures a caring attitude toward nature.
• Community:
Encourage sharing of success stories and discussion on sustainability.
8. Conclusion: Becoming Compost Detectives!
Congratulations!
Now you and your little ones are on your way to becoming compost detectives and environmental stewards.
By building a compost bin, sorting kitchen scraps, and tracking the process, you’re making a meaningful impact on sustainability while learning valuable skills.
Download your Compost Detective Badge here
Next Steps:
Build your compost bin using our step-by-step instructions (See Chapter 4).
Sort and track the process with our interactive worksheets.
Share your progress: Encourage children to share what they’ve learned with friends, family, and classmates.
Together, every kitchen scrap can turn into a bit of magic soil—helping our gardens, our Earth, and sparking a lifelong curiosity for the wonders of nature.